
I stumbled across this post on apartment therapy this morning and thought it would be such a great idea for holiday cards for those that are budget minded. Plus, it adds such a sweet personal touch.
Read on for directions...


What You Need
Materials
Linoleum block or unmounted sheet which can be cut to size
Block printing ink
High-quality paper (cut to size) or pre-folded cards
Tracing Paper
Linoleum block or unmounted sheet which can be cut to size
Block printing ink
High-quality paper (cut to size) or pre-folded cards
Tracing Paper
Tools
Linoleum Carving Tool Set
Brayer (Ink Roller)
Baren (Optional, for rubbing the ink into the paper)
Flat plastic or glass tray for rolling out ink
Soft Pencils
Linoleum Carving Tool Set
Brayer (Ink Roller)
Baren (Optional, for rubbing the ink into the paper)
Flat plastic or glass tray for rolling out ink
Soft Pencils
Instructions
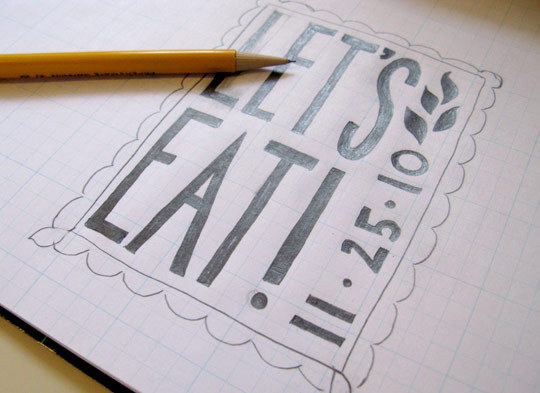
1.Trace or draw your design onto a piece of tracing paper using a soft pencil. If you are just starting out, keep in mind that a simpler design will be easier to cut — curves and small details are more difficult to cut than straight lines.2. Turn the paper over and tape it to the linoleum block.
3. Rub the pencil over the back of the design, covering all lines thoroughly. The pencil will transfer to the linoleum block. The design will be reversed on the block, but will be correctly oriented when printed — this is especially important to keep in mind if you are working with type.
4. If the lines are faint, trace over the design again the block, either using a pencil or a thin sharpie.
5. Using the linoleum cutting tools, carve out the design from the block. Cut away all areas that will be negative space and leave the areas that will hold ink. It usually works best to use a thinner blade to outline the design and then switch to a wider blade to clear out the larger blank areas. Always cut away from yourself and keep your fingers out of the path of the blade. If you are having trouble cutting you can iron the linoleum at a very low setting for a few minutes or hold it under hot water to soften it.
6. Squeeze about quarter-sized amount of ink onto the plastic or glass tray.
7. Roll the ink with the brayer in different directions until it covers the brayer in a smooth, thin layer.
8. Roll the inked brayer over the linoleum block to cover the raised (positive) areas with ink.
9. Center a piece of paper over the inked block. Rub the paper with a baren, the palm of your hand, or roll over it with a clean brayer. This will transfer the ink to the paper.
10. To clean up, simply wash your brayer and block with warm water and mild soap if necessary and air dry. You can use the block multiple times.
Notes
• Experiment with different papers, some take ink more easily than others. Try a light-colored ink on a darker paper.
• Experiment with different papers, some take ink more easily than others. Try a light-colored ink on a darker paper.
• To create a print with multiple colors, carve a different block for each color. The trickiest part is aligning the different colors correctly — called registration — when you print. This can be done by eye or you can use masking tape to mark out the position of the block and paper on your printing surface. It helps to print lighter colors first and darker colors on top so that any overlap will be less obvious.
No comments:
Post a Comment