Showing posts with label diy. Show all posts

Thursday, July 28, 2011

Custom made for special friends

Sadly, last week was my last at my wonderful job at the Children's Hospital.  I was presented with an opportunity I couldn't pass up, so away I go on a new adventure starting August 1.

During my time at the Children's Hospital I had two wonderful managers, each with their own unique style or grooming and mentoring me.  I wanted to get them both something to say "thank you" but couldn't think of the perfect gift.  Yes, a bottle of wine and flowers would have been great but I just wasn't satisfied with that.  So, of course, in true Mrs. Curiosity fashion I had to take on a new project which my husband kept saying to me, "Are you sure you have time to do this?"  My answer, "I dont have to time to breathe some days, but somehow I make time."

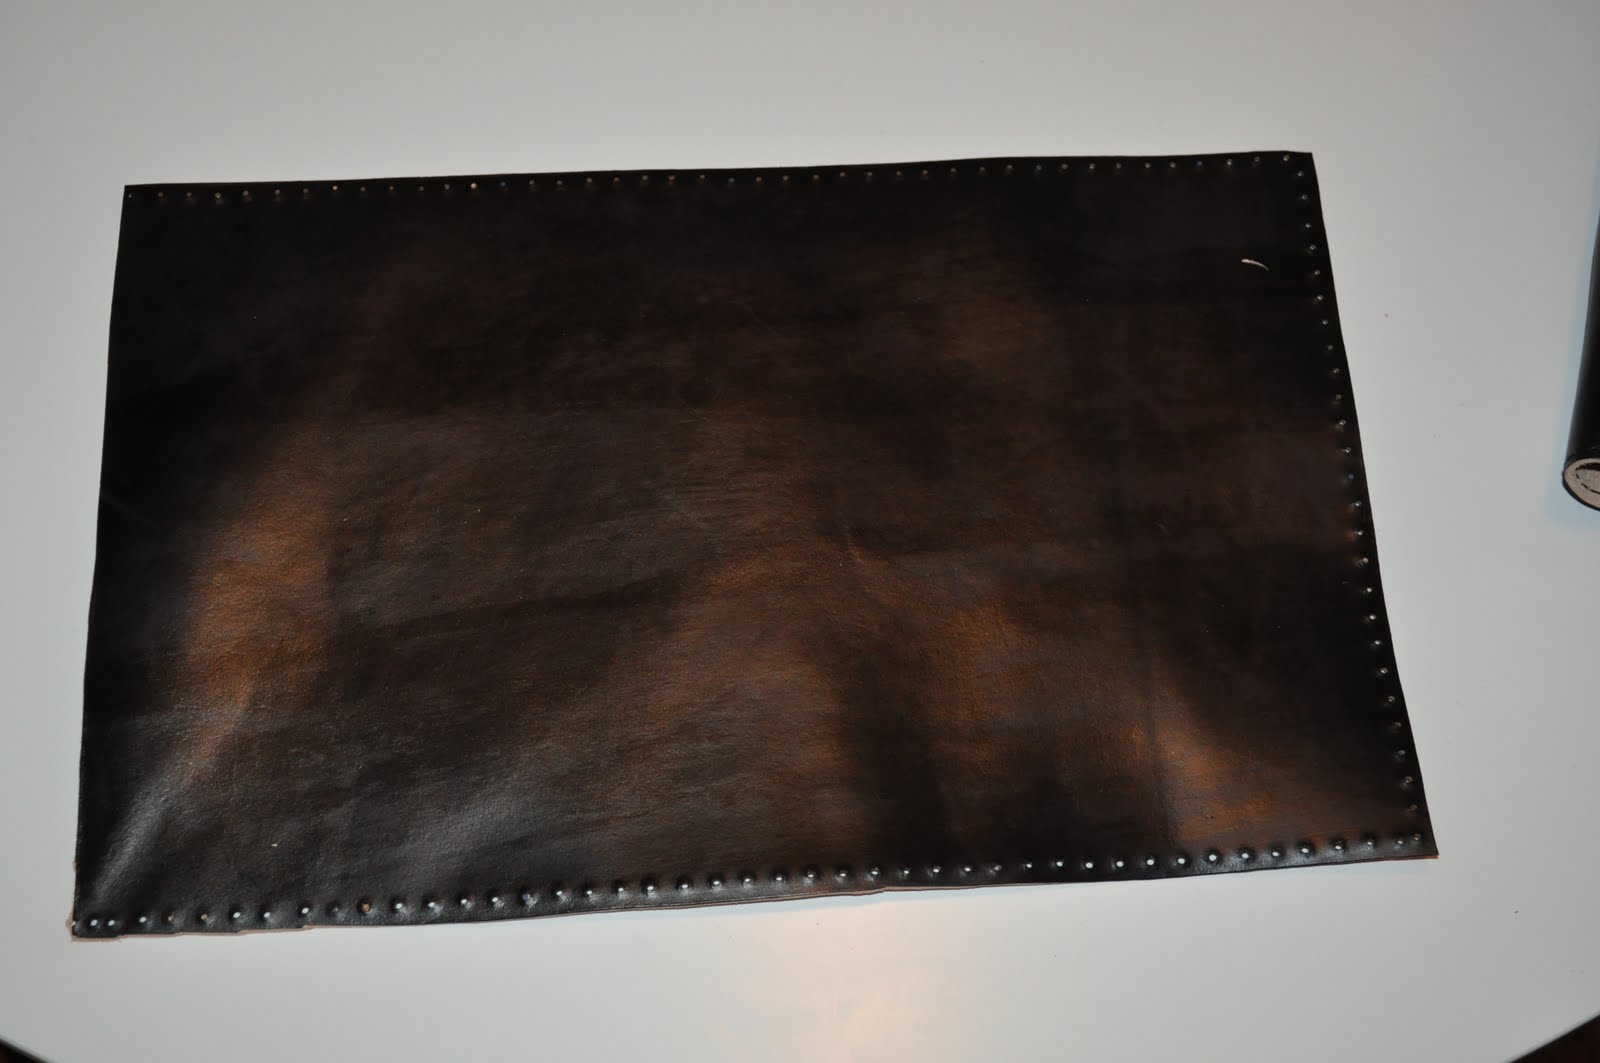
So, on with making 2 fabulous leather clutches for 2 fabulous friends.  Read on to see the step by step and final product.


Wednesday, March 23, 2011

DIY studded trench

I always love a good DIY and this one is brought to you by Who What Wear.  Unless you have been living under a rock this spring season studded trenches were all over the runway for Burberry Prorusum for Spring 2011. Without the $8,000 price tag you can accomplish this look too.


INGREDIENTS:
-H&M Trench Coat ($60)
-Approximately 400 chopsticks or candy apple sticks
-Handsaw
-Gold spray paint
-Chalk
-Glue Gun


DIRECTIONS

Before you begin: if you're particularly good with a handsaw or know someone with a power table saw, proceed with Step 1. For those of you who don't have those tools handy, you can make an alternative version of this trench by purchasing and using gold studs instead. If you choose to do the latter, please refer to the second set of instructions and note that this project will get a bit pricier.

1. Cut down chopsticks or candy apple sticks to about an inch with a handsaw or ask someone with a power table saw to cut down for you. You should end up with 164 pointy ends for each sleeve.

2. Once you finished cutting the sticks, it's time to paint them! Make sure you're in a well-ventilated area and are working on a flat surface. We suggest protecting your workspace with old magazines or newspaper.

3. Apply a layer of gold spray paint to the pointy tips. Leave them on your workspace for approximately 15 minutes or until dry. Flip them over and spray the other side.

4. Before you apply the spikes to the jacket, use white chalk to outline a rectangle on each arm, starting at the shoulder and ending at the elbow. You want it to be large enough to fit approximately 24 rows and five columns, but this will vary depending on the size of your jacket and how many spikes you want on it.

5. Space the gold spikes evenly in each row and use dabs of hot glue or super glue to secure each spike onto the jacket.

6. Wait approximately 10 minutes or until the glue is completely dry before wearing the trench.


If you choose to use studs:


INGREDIENTS
- H&M Trench Coat ($60)
- 17 bags of Tree Spikes ($13/bag of 20) in Gold
-Leather hole punch or X-Acto knife
-Chalk


DIRECTIONS

1.Before you apply the studs to the jacket, use white chalk to outline a rectangle on each arm, starting at the shoulder and ending at the elbow. You want it to be large enough to fit approximately 24 rows and five columns, but this will vary depending on the size of your jacket and how many studs you want on it.

2. Create small holes using a leather hole punch or X-Acto knife where you would like each stud to go.

3. Press the post of the stud through the small hole and screw the back onto the post.


Thursday, March 3, 2011

something old..... into something new


via one of my favorite blogs The Glamourai.  This girl has got it together....

i love the look of estate jewelry, especially articulated rhinestone pieces that have developed a smokey patina over time (like the yummy stuff above!). unfortunately, such gems can be either hard to find or stunningly expensive. on the other hand, modern replicas may be more affordable, but they often lack a certain depth ~ to my mind, new, too-shiny jewels always look cheap. good thing i've got a trick for faking the estate look!

here's what you do: start with a rhinestone necklace (or earrings, bracelet, etc...). recently, i fell in love with this 3D floral stunner while culling pieces for my f21 store. although it's undoubtedly a pretty piece as is, i imagined it might be a bit too glitzy ~ even for my taste! however, i knew it would be perfect for this project.

other than that, you'll need:
- paper towels to protect your work surface
- a black AND a brown sharpie pen (fine point is preferred)
- a handful of Q-tips
- nail polish remover (optional)

first and foremost, cover your workspace with paper towels; permanent marker does NOT come off tabletops! next, start smudging brown sharpie over the stones; to get that naturally aged look, occasionally skip a stone or two. you want it to look a bit random (as organic aging tends to be). blot the ink up with a moistened Q-tip (dipped in water!) as you go:

next, trace back over the stones with the black sharpie (continuing to blot with damp Q-tips as you move along). layering black over the brown adds dimension, making the stones look more naturally smokey:

for the sake of this tutorial, i completed the right side first, so that you'd be able to compare the desired finish with the original starting place (ie, the left side):

after continuing the same work on said left side, i realized i'd gone a bit too dark overall. that's easy to do ~ but just as easy to fix! simply dip one of your Q-tips in a bit of nail polish remover, and sweep it over the top surface of the stones. use a light touch on this step ~ that will help bring the shine back to the tips of the piece, while maintaining the shading around the sides of the stones. and voila! that's all it takes:

see the difference?! this transformation is definitely (intentionally) subtle; because, as we all know, chic is in the details!

let me know in the comments if you have any questions, and send me pictures if you decide to test this out for yourself!! as always, please keep in mind that you don't have to buy anything new to do this project ~ just dig around in your jewelry box for anything a bit too blingy and try giving it the antique treatment!

images via

Tuesday, March 1, 2011

How to tie a turban

I love the idea of wearing a turban.  With the hot Texas summer days approaching I am always looking for a way to stay cool and chic at the same time.  Quite a task with my annoyingly long hair.  This looks like quite the solution via The Glamourai.

begin by folding your square-shaped scarf on the diagonal, like so:

center the long, folded side of the scarf at the nape of your neck...

...and pull the left & right-side pieces up to the top of your head. then, knot them once...

...like so:

next, pull the same pieces you just knotted around to the back again:

and tie them into a double-knot:


tuck the tail-ends of that knot under the side pieces:

finally, grab the piece hanging out in front and pull it up and under, tucking the tip of it into that first knot you made at the top of your head...

Monday, February 28, 2011

Get the look


Oscars-Inspired DIY: Natalie Portman’s Tassel Earrings


Natalie Portman Oscars EarringsGetty; Time Inc. Digital Studio
Loved Natalie Portman’s tassel earrings at the Oscars? The Tiffany & Co.-designed pair featured rubellite tourmaline and rose-cut diamonds, but you can get the same look by making it yourself in three easy steps:
What You Need:
2 Purple tassels (find them at mjtrim.com)
2 Rhinestone Beads (find them at jewelry-diy.com)
2 Earring Hooks (find them at jewelry-diy.com)
How-To:
1. String rhinestone bead on to tassel loop.
2. Using a pliers attached earring hook to end loop of tassel.
3. Repeat for second earring.

Thursday, November 4, 2010

DIY Holiday Cards

I stumbled across this post on apartment therapy this morning and thought it would be such a great idea for holiday cards for those that are budget minded.  Plus, it adds such a sweet personal touch. 
Read on for directions...


What You Need

Materials
Linoleum block or unmounted sheet which can be cut to size
Block printing ink
High-quality paper (cut to size) or pre-folded cards
Tracing Paper
Tools
Linoleum Carving Tool Set
Brayer (Ink Roller)
Baren (Optional, for rubbing the ink into the paper)
Flat plastic or glass tray for rolling out ink
Soft Pencils

Instructions

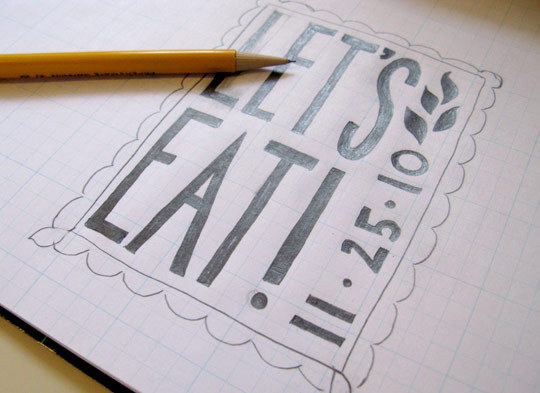
1.Trace or draw your design onto a piece of tracing paper using a soft pencil. If you are just starting out, keep in mind that a simpler design will be easier to cut — curves and small details are more difficult to cut than straight lines.
2. Turn the paper over and tape it to the linoleum block.
3. Rub the pencil over the back of the design, covering all lines thoroughly. The pencil will transfer to the linoleum block. The design will be reversed on the block, but will be correctly oriented when printed — this is especially important to keep in mind if you are working with type.
4. If the lines are faint, trace over the design again the block, either using a pencil or a thin sharpie.
5. Using the linoleum cutting tools, carve out the design from the block. Cut away all areas that will be negative space and leave the areas that will hold ink. It usually works best to use a thinner blade to outline the design and then switch to a wider blade to clear out the larger blank areas. Always cut away from yourself and keep your fingers out of the path of the blade. If you are having trouble cutting you can iron the linoleum at a very low setting for a few minutes or hold it under hot water to soften it.
6. Squeeze about quarter-sized amount of ink onto the plastic or glass tray.
7. Roll the ink with the brayer in different directions until it covers the brayer in a smooth, thin layer.
8. Roll the inked brayer over the linoleum block to cover the raised (positive) areas with ink.
9. Center a piece of paper over the inked block. Rub the paper with a baren, the palm of your hand, or roll over it with a clean brayer. This will transfer the ink to the paper.
10. To clean up, simply wash your brayer and block with warm water and mild soap if necessary and air dry. You can use the block multiple times.
Notes
• Experiment with different papers, some take ink more easily than others. Try a light-colored ink on a darker paper.
• To create a print with multiple colors, carve a different block for each color. The trickiest part is aligning the different colors correctly — called registration — when you print. This can be done by eye or you can use masking tape to mark out the position of the block and paper on your printing surface. It helps to print lighter colors first and darker colors on top so that any overlap will be less obvious.